The absolute foundation of a classic British walking lunch is the rucksack sandwich.
There is nothing quite like sitting on a dry stone wall at midday, unwrapping a neat package of foil, and taking a massive bite of a home-stacked sandwich.
However, relying on standard supermarket-sliced white bread is a guarantee of lunch-hour disappointment.
These commercial loaves are spun with massive volumes of air and water; the moment they encounter the rough-and-tumble of a rucksack pocket, they squash down into a sad, flat, and soggy pancake that ruins your fillings.
You need a reliable, old-school sandwich loaf that boasts a soft, pillowy interior crust while maintaining the structural density needed to survive a demanding pack layout.
Shop-Bought Airy Sliced Bread ──► Squeezes to a Soggy Pancake, Weak Texture & Crumbles ❌
The Soft Homemade Trail Loaf ──► Robust Crumb Wall, High Structural Integrity & Soft Bite ✓
🍞 The Trail Loaf Snapshot
|
Baking Metric |
Target Setting |
Why It Rules For Long-Distance Lunch Boxes |
|---|---|---|
|
Structural Integrity |
High-Elastic Crumb Wall |
Bounces back completely when compressed, ensuring your lunch looks pristine at the summit. |
|
Moisture Shield |
Targeted Dairy Lipids |
The butter and milk inclusion blocks starch crystallization, keeping the loaf fresh for 4 days. |
|
Crust Performance |
Golden Chewy Exterior |
Develops a firm, protective perimeter that keeps wet sandwich fillings from leaking through. |
|
Slicing Mechanics |
Low-Crumble Carving |
Holds together under a sharp blade, allowing you to cut ultra-thin or substantial thick doorstep slices. |
🧭 The Master Sequence
The absolute secret to an elite soft sandwich loaf is kneading the dough thoroughly to develop the gluten matrix.
Gluten is the underlying architectural scaffolding of your bread; if you skimp on kneading, your loaf will lack the tensile strength needed to hold its shape, resulting in a brittle, crumbly bread that falls apart when you slice it.
Step 1: Wake up the Yeast Engine
In a small jug, combine 150ml of warm water and 150ml of warm whole milk (aim for a comfortable bath-water temperature of roughly 38°C—if it’s too hot, it will kill the yeast).
Stir in 1 tablespoon of caster sugar and 1 sachet (7g) of fast-action dried yeast. Let it sit undisturbed for 5 to 7 minutes on the counter until a thick, frothy, and bubbling beige foam develops across the top surface, signaling that the yeast is alive and active.
Step 2: Form the Dough Foundation
In a large, wide mixing bowl, weigh out 500g of strong white bread flour and 1.5 teaspoons of fine sea salt, tossing them together with your fingers.
Pour your bubbling yeast liquid straight into the center of the flour.
Use a sturdy wooden spoon to stir outward from the middle, pulling the flour into the liquid until a rough, sticky, and shaggy dough ball forms.
Step 3: Develop the Gluten Scaffolding
Tip the sticky dough onto a clean, un-floured work surface. Melt 30g of unsalted butter and pour it over the dough.
Now, begin kneading aggressively: push the dough down and away from you using the heels of your hands, fold it back over itself, turn it 90 degrees, and repeat.
Continue this continuous motion for 10 full minutes. The dough will transform from a sticky, messy paste into a remarkably smooth, glossy, and elastic ball that springs back instantly when poked.
Step 4: The Double Rise Window
Place your kneaded dough ball into a lightly oiled bowl and cover with a clean damp tea towel. Let it rise in a warm corner for 1 hour until it has completely doubled in size.
Punch the dough down firmly with your fist to release the trapped gas. Shape the dough into a tight cylinder shape and press it firmly into a greased 2lb loaf tin.
Cover again and let it rise for a further 45 minutes until the dough crowns beautifully over the rim of the tin.
Step 5: The Golden Oven Bake
Preheat your oven to 200°C (180°C fan / Gas Mark 6). Slide your risen loaf tin onto the middle rack of the oven and bake for 30 to 35 minutes.
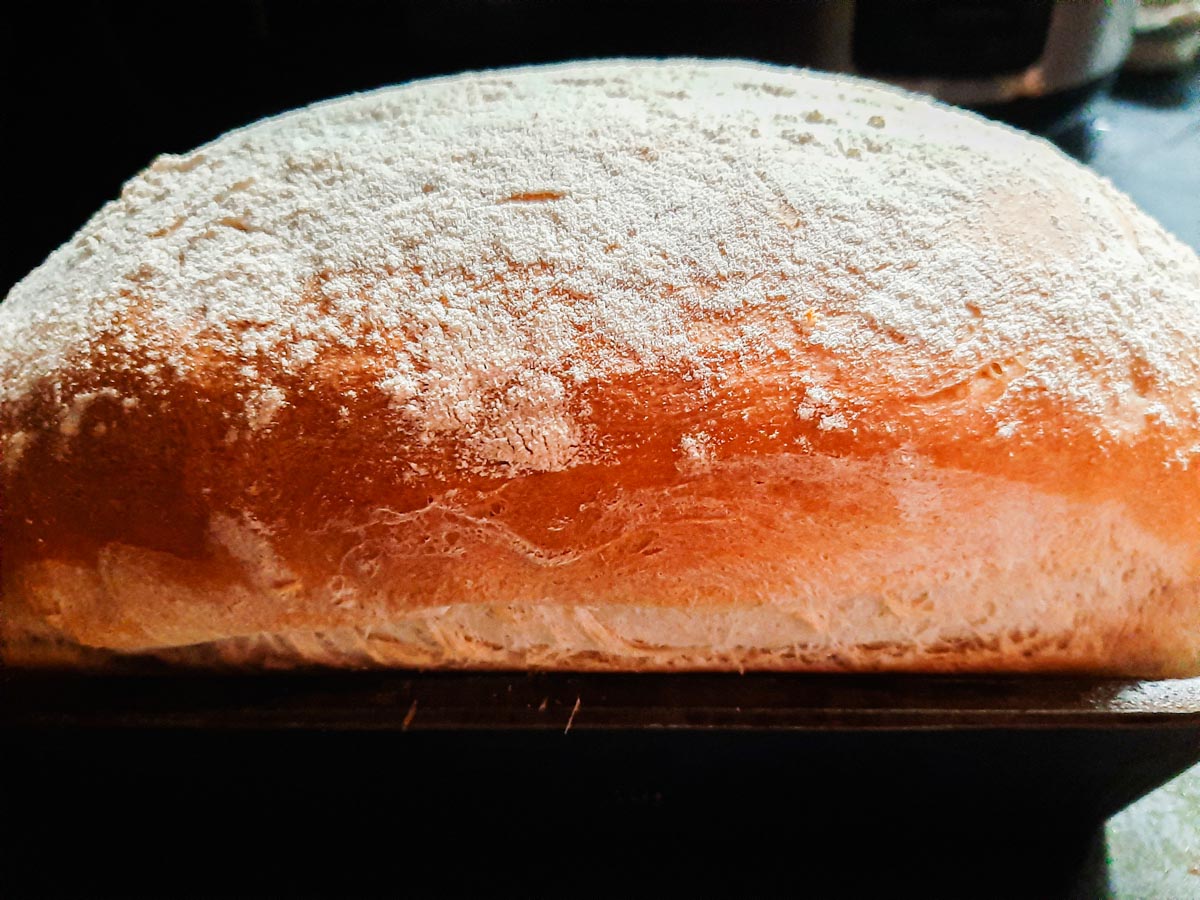
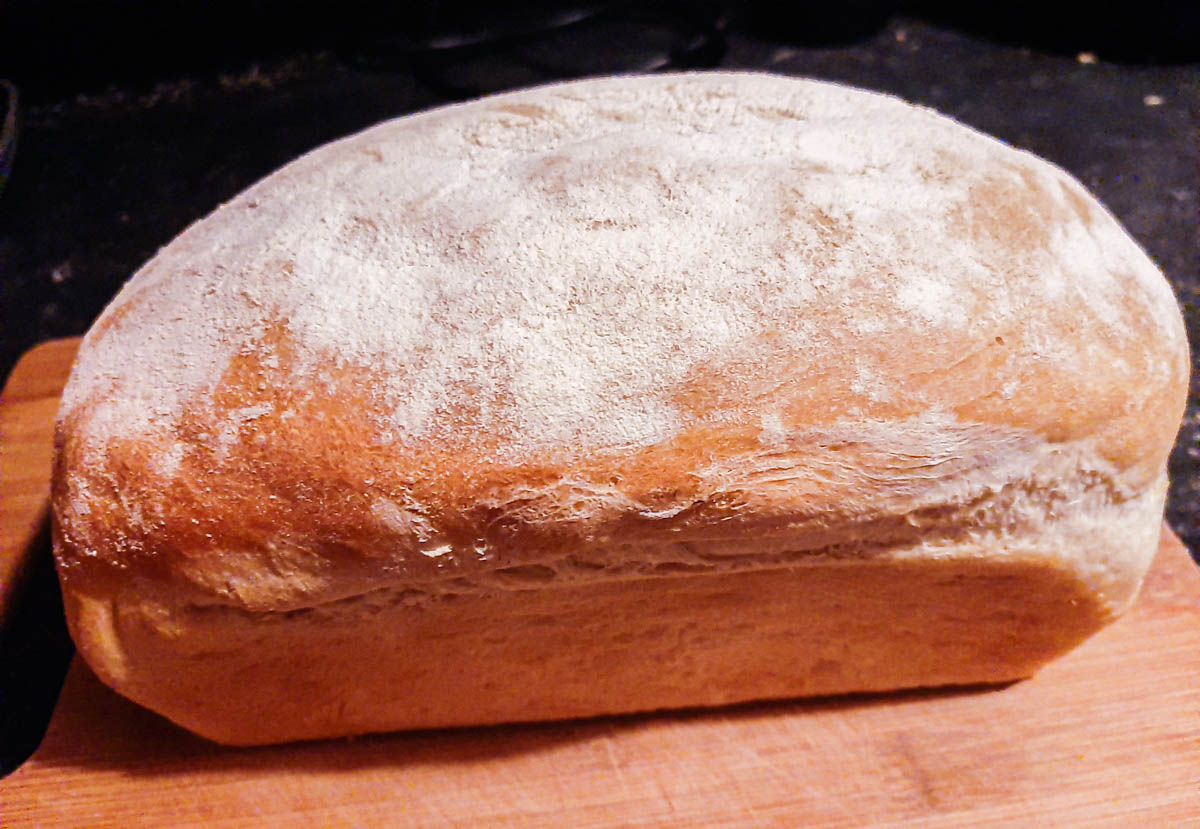
The crust will turn a beautiful, glossy golden-brown. To ensure it is completely baked through, carefully tip the loaf out of its tin and tap the bottom floor with your knuckle—it should sound loud and hollow.
Let it cool completely on a wire rack for at least 1 hour before carving into doorstep sandwich slices.

The Trail Loaf: Easy Soft Sandwich Bread
A sandwich bread recipe that’s easy to make and is so tasty you will be baking it again, I guarantee it.
1
large loaf20
minutes35
minutes175
kcal105
minutesIngredients
500 g Strong White Bread Flour (plus extra for shaping)
7 g Fast-Action Dried Yeast (1 sachet)
1 tbsp Caster Sugar
1.5 tsp Fine Sea Salt
150 ml Warm Water
150 ml Warm Whole Milk
30 g Unsalted Butter (softened)
Directions
- Activate Yeast: Mix the warm water, warm milk, sugar, and yeast in a jug. Let sit for 5-7 minutes until frothy.
- Mix Dough: In a large bowl, mix the flour and salt. Pour in the yeast liquid and stir firmly with a wooden spoon until a shaggy dough forms.
- Knead: Turn onto a clean counter, add the softened butter, and knead aggressively for 10 minutes until completely smooth, glossy, and elastic.
- First Rise: Place in an oiled bowl, cover, and let rise for 1 hour until doubled in size. Punch down, shape into a log, and place in a greased 2lb loaf tin. Cover and rise for 45 minutes.
- Bake: Preheat oven to 200°C (180°C fan). Bake the loaf for 30-35 minutes until golden brown and the base sounds hollow when tapped. Cool completely on a wire rack before slicing.