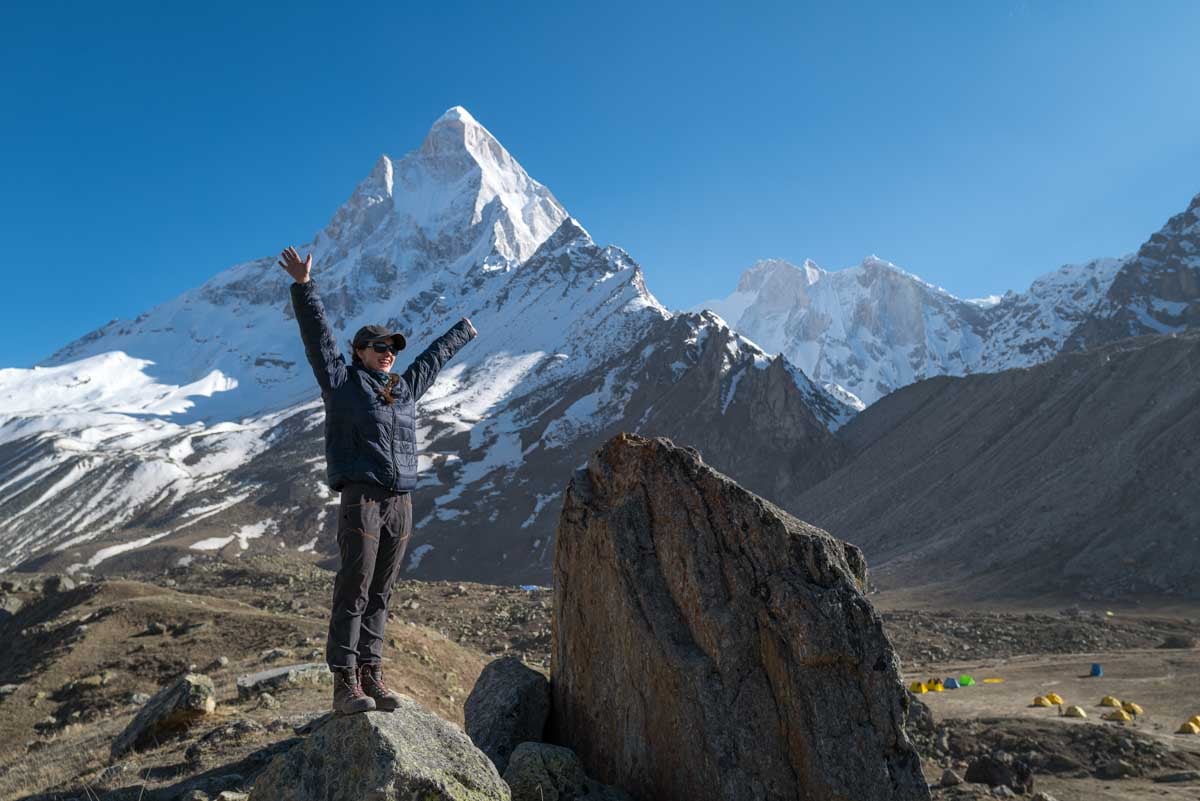
There is a brilliant, understated poetry to sitting on a rugged, wind-swept mountain summit, looking out across a sea of rocky peaks, and pulling a homemade rock cake out of your pack.
Visually, these classic British bakery treats mirror the very landscapes we love to explore—rough, craggy, and completely uneven.
But their resemblance to the fells isn’t just cosmetic. While delicate cupcakes, flaky pastries, or chocolate-coated bars turn into a melted, smashed disaster at the bottom of a kit bag, rock cakes are built for the rough treatment.
Delicate Frosted Cupcake ───► Crushed, Smashed, Messy Rucksack Disaster ❌
Craggy Fruit Rock Cake ───► Solid, Pocket-Durable, Rugged Summit Fuel ✓
This traditional recipe reclaims a nostalgic British staple and optimizes it for the modern outdoor enthusiast.
By ditching the melting liability of chocolate chips and focusing purely on high-energy dried fruits and warming spices, these rock cakes become an exceptionally durable trail snack.
They offer a firm, satisfying, scone-like bite that pairs magnificently with a hot cup of tea from a flask when you finally reach the trig point.
🪨 The Summit Rock Cake Snapshot
|
Fuel Metric |
Target Setting |
Why It Rules For A Long Walk |
|---|---|---|
|
Structural Integrity |
Stiff Dough, Craggy Surface |
Specifically engineered to be tossed directly into a coat pocket or rucksack hood without breaking apart. |
|
The Fruit Factor |
Sultanas, Raisins, & Mixed Peel |
Packed with natural, fast-acting sugars to instantly recharge your leg muscles before a heavy descent. |
|
The Texture Profile |
Dense, Firm, Scone-Like Crumb |
Uses a low-hydration, rubbed-in butter method that prevents the bake from absorbing trail dampness. |
|
Pack Shelf Life |
Up to 5 Days |
Keeps its rich, spiced moisture beautifully without needing delicate storage or refrigeration. |
⚡ Why Craggy Tops Beat Smooth Trays on the Hills
When you are planning trail food, texture and resilience matter just as much as calories. Most home bakes rely on a smooth, highly hydrated batter that creates a soft, delicate crumb. On a kitchen counter, that’s lovely; inside a rucksack being jostled against a flask, compass, and waterproofs for four hours, it means absolute structural failure.
Rock cakes solve this by using a remarkably stiff, low-moisture dough. Because the dough isn’t smoothed out before baking, those rough, craggy peaks catch the intense direct heat of the oven, caramelizing into a protective, crunchy outer shield.
Nutritiously, dropping the chocolate for traditional dried vine fruits is a deliberate strategy for hikers.
Chocolate melts the second your pack gets warm on a sunny climb, creating a messy clean-up job inside your gear.
Dried fruit, however, handles temperature swings perfectly. Each fruit piece acts as a self-contained pocket of natural carbohydrates and potassium, providing a clean energy top-up without a sticky trail disaster.

🧭 The Summit Rock Cake Sequence
The secret to a perfect rock cake is ensuring the dough stays incredibly stiff. When you spoon the mixture onto the tray, it should look like a rough pile of mountain scree
If the dough is too wet, it will flatten out into a generic cookie during baking, losing its iconic craggy texture and structural strength.
Step 1: Rub in the Flour and Fat (Time: 10 mins)
Preheat your oven to 200°C (180°C fan / Gas Mark 6) and line a large baking sheet with high-quality baking parchment.
In a wide mixing bowl, sift together 250g of self-raising flour, 1 teaspoon of mixed spice, and a pinch of salt. Add 100g of cold, cubed unsalted butter.
Use your fingertips to rub the butter into the flour quickly until the entire mixture looks like fine breadcrumbs.
Step 2: Add the Sweet Fruit and Spice (Time: 5 mins)
Stir 75g of golden caster sugar directly into the breadcrumb base. Next, add 150g of mixed dried fruit (a traditional blend of sultanas, raisins, and a touch of citrus mixed peel works best).
Use a fork to toss the ingredients thoroughly so the fruit is evenly coated in the spiced flour.
Step 3: Bind to a Stiff Dough (Time: 5 mins)
In a separate small jug, beat 1 large egg together with 1 tablespoon of milk. Pour the liquid into the dry ingredients.
Using a butter knife, mix the ingredients using a cutting motion until the dough starts to clump together.
If it looks a little too dry to hold, add one more tablespoon of milk—but stop the second you have a very stiff, rough dough.
Step 4: Pile the Craggy Mounds (Time: 5 mins)
Using two forks, scoop up rough, golf-ball-sized portions of the dough and place them onto your lined baking tray.
Do not roll them into neat balls, smooth the edges, or flatten them down! Leave them as wild, jagged, and craggy mounds with plenty of space between each to allow the heat to circulate.
Step 5: The High-Heat Summit Bake (Time: 15 mins)
Slide the tray into the centre of the oven and bake for 12 to 15 minutes.
Watch for the jagged peaks to turn a beautiful, rich golden brown.
Remove from the oven and let them sit on the hot tray for 5 minutes to set before transferring them to a wire rack to cool completely into sturdy trail fuel.

Traditional Hiker’s Fruit Rock Cakes
Rock Cakes were originally a traditional British teatime treat in old days and popularity has spread around the world.
12
servings15
minutes15
minutes185
kcal30
minutesIngredients
250 g Self-Raising Flour
1 tsp Mixed Spice
1 pinch Sea Salt
100 g Unsalted Butter (chilled and cubed)
75 g Golden Caster Sugar
150 g Mixed Dried Fruit (Sultanas, Raisins, and Currants)
1 Large Egg
1 –2 tbsp Milk (only if needed to bind)
Directions
- Preparation: Preheat the oven to 200°C (180°C fan / Gas Mark 6). Line a large, flat baking tray with non-stick greaseproof paper.
- Rub Fat: Combine the self-raising flour, mixed spice, and a pinch of salt in a bowl. Rub in the chilled, cubed butter using your fingertips until the mixture resembles fine breadcrumbs.
- Toss Fillings: Stir in the golden caster sugar followed by the mixed dried fruit, ensuring the fruit chunks are distributed evenly through the flour.
- Bind Stiffly: Beat the egg with 1 tablespoon of milk, pour into the bowl, and mix with a knife to form a very stiff, rough dough. Add a dash more milk only if the flour won’t bind.
- Form & Bake: Use two forks to place 10 to 12 rough, jagged mounds of dough onto the baking sheet. Bake for 12-15 minutes until the craggy tops are beautifully golden brown. Cool on a wire rack before packing.
Notes
- 🍫 The Chocolate Alternative: If you prefer a sweet chocolate hit over traditional fruit, simply swap out the 150g of mixed dried fruit for 100g of high-quality dark chocolate chips. Just keep them in a cool pocket on a warm day!