
There’s nothing quite like the bond we share with our pets. They’re family. And in a world where we document our lives through photos, it’s only natural to want to capture their unique personalities and the joy they bring us.
But as any pet owner knows, getting that perfect shot can be a challenge. They don’t pose on command, they’re often in motion, and that perfect moment is gone in a flash.
That’s where this guide comes in. As someone who has spent countless hours, camera in hand, trying to capture the spirit of my own furry companions, I’ve learned a few things along the way.

Whether you’re using the latest smartphone or a DSLR camera, the principles of a great pet photo are the same.
This guide will walk you through everything you need to know, from understanding the fundamentals of light and composition to mastering the specific settings on your device. Let’s get started.

Part 1: The Three Pillars of a Great Pet Photo
Before we even touch the camera settings, success in pet photography rests on three core concepts: personality, light, and composition. Master these, and you’re already halfway to taking incredible photos.
Capturing Character: It’s All About Personality
A technically perfect photo of a stressed or bored pet is still a failure. The goal is to capture their unique spirit.
- Make it Fun: The best photos happen when your pet is happy and relaxed. Turn the photo session into a game. Bring out their favorite toys, offer plenty of treats, and keep the atmosphere light and positive. Choose a location where they feel safe and comfortable, like your home or a familiar park.
- Patience is Everything: Pets operate on their own schedule. You can’t force a great photo. Sometimes you have to wait for them to calm down or get into a playful mood. Be prepared to take lots of photos to get that one special shot.
- Read Their Body Language: A happy pet makes for a happy photo. Watch for positive signs like a wagging tail and relaxed ears. If you see signs of stress—such as pinned-back ears, a tucked tail, or excessive lip licking—it’s time to take a break. Pushing them will only make them associate the camera with a negative experience.

Mastering Light: Finding the Best Natural Light
Good lighting is the secret ingredient that separates a simple snapshot from a beautiful portrait.
The best light is almost always natural light, and you should avoid using your camera’s built-in flash whenever possible, as it can create harsh shadows, cause “red-eye,” and even frighten your pet.
- Seek Soft, Diffused Light: The most flattering light is soft and even. You can find this outdoors on a slightly overcast day or in an area of open shade, like under a large tree or on a covered porch.
- Use the “Golden Hour”: The hour just after sunrise and the hour before sunset are known as the “golden hour” for a reason. The light is warm, soft, and creates a beautiful glow that can make your photos look magical. Harsh midday sun, by contrast, creates unflattering, hard shadows.
- Create “Catchlights”: For a portrait that truly feels alive, you want to see a little sparkle of light reflected in your pet’s eyes. These are called “catchlights”. To create them, simply make sure your pet is facing toward a light source, like a bright window or an open patch of sky. You can even use a simple piece of white foam board to bounce a little extra light into their eyes.
Perfecting Composition: Framing Your Pet Like a Pro
How you frame your subject can dramatically change the impact of your photo. A few simple rules can help you create more balanced and visually interesting images.
- The Rule of Thirds: Instead of always placing your pet right in the center of the frame, imagine your screen is divided into a 3×3 grid. Try placing your pet along one of the lines or at one of the four intersection points. This often creates a more dynamic and pleasing composition.
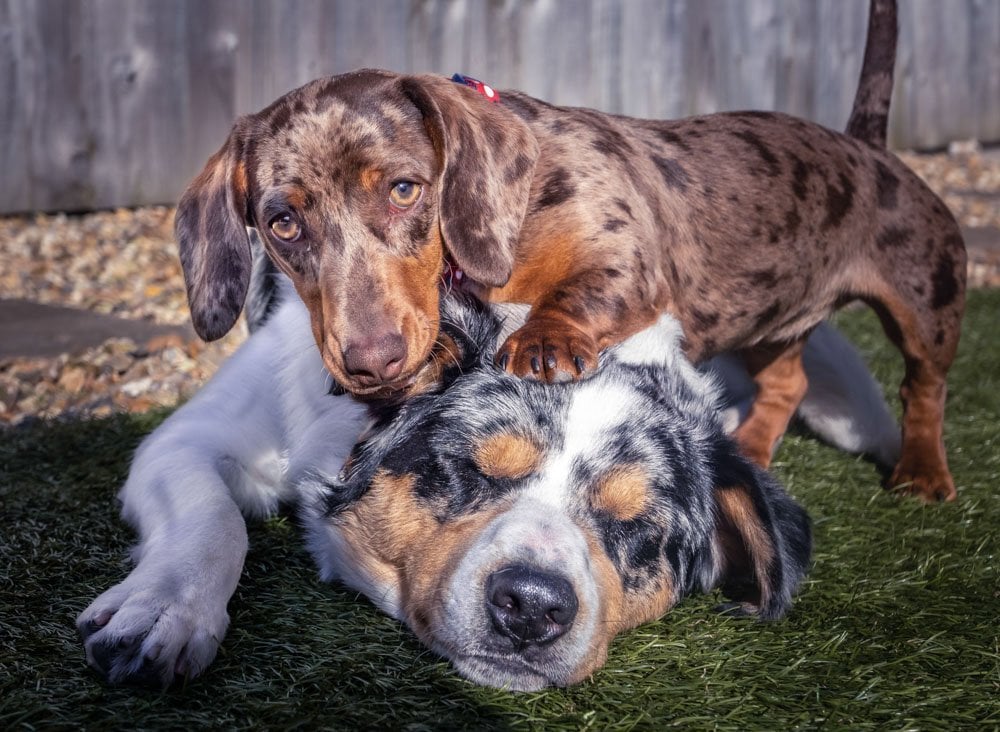
- Mind the Background: A cluttered or distracting background can pull focus away from your pet. Before you take the shot, scan the area behind your subject. Look for simple, clean backgrounds like a plain wall, a patch of green grass, or a wood fence.
- Use Leading Lines: Look for natural lines in the environment—a path, a fence, a bridge—that you can use to draw the viewer’s eye directly to your pet.

Part 2: Nailing the Shot – A Guide to Gear and Settings
With the fundamentals in place, it’s time to get the most out of your specific camera, whether it’s a smartphone or a DSLR.
For the Smartphone Photographer: Getting Pro Shots with Your Phone
Modern smartphones are incredibly powerful cameras. With a few tricks, you can get professional-looking results.
- Use Portrait Mode: Most modern phones have a “Portrait Mode.” This feature uses software to create a shallow depth of field effect, which keeps your pet sharp while artfully blurring the background. This is one of the easiest ways to make your photos look more professional and help your pet stand out.
- Leverage Burst Mode: Pets move fast, and the perfect moment is often a split second. To increase your chances of capturing it, use Burst Mode. Simply press and hold the shutter button, and your phone will take a rapid series of photos. You can then scroll through them and pick the sharpest, most expressive shot.
- Tap to Focus: Don’t let your phone guess what’s important. Tap directly on your pet’s eye on the screen before you take the picture. This tells the camera exactly where to focus and ensures the most critical part of the image is perfectly sharp.
- Move Your Feet, Not the Zoom: Avoid using the digital zoom on your phone. It significantly degrades image quality. Instead of zooming in, physically move closer to your pet to frame the shot.

For the DSLR & Mirrorless Photographer: Taking Full Control
If you’re using a camera with manual controls, you have the power to fine-tune every aspect of your image. Here are the key settings to master for pet photography.
Aperture and Depth of Field
Aperture (measured in f-stops like f/2.8 or f/8) controls how much of your image is in focus. For portraits, a “wide” aperture (a low f-number like f/1.8 to f/4) is often desirable.
This creates a shallow depth of field, blurring the background and making your pet pop. To maximize this effect, use a longer lens (like a 200mm) and ensure there is plenty of distance between your pet and the background.
Shutter Speed for Sharpness
Shutter speed determines how long the camera’s sensor is exposed to light. For pets, which are rarely perfectly still, a fast shutter speed is essential to freeze motion and avoid blur.
For a sitting portrait, aim for at least 1/200s. For a walking or playing pet, you’ll want to be at
1/500s or faster, and for high-speed action like running or jumping, push it to 1/1000s or even 1/2000s.
ISO and Low Light
ISO measures the sensor’s sensitivity to light. In bright, sunny conditions, keep your ISO as low as possible (e.g., 100-400) for the cleanest image.
When shooting indoors or in lower light, you’ll need to increase your ISO to maintain a fast-enough shutter speed. A good starting point for many situations is around ISO 800.
Focus Modes for Moving Subjects
To keep a moving pet sharp, switch your camera’s focus mode to Continuous Autofocus (often called AI Servo on Canon or AF-C on Nikon/Sony).
In this mode, the camera will continuously track and refocus on your subject as long as you hold the shutter button halfway down.
For even more precision, use a single focus point and do your best to keep it placed directly over your pet’s eye.
Part 3: Pro Techniques and Creative Ideas
Once you’re comfortable with the basics, try these techniques to elevate your photos.
Technique 1: Focus On The Eyes (Expanded)
This is the single most important rule in portrait photography, for pets and people alike. The eyes are the window to the soul, and sharp, expressive eyes create an immediate connection with the viewer.
Always make the eyes your primary point of focus. On a smartphone, tap on the eye. On a DSLR, place your focus point directly on the eye closest to the camera.
Technique 2: Get Down To Their Level (Expanded)
Shooting from a standing position looking down on your pet is the most common mistake beginners make. Getting down on their level—even if it means lying on the ground—changes everything. It’s less intimidating for your pet and allows you to see the world from their unique perspective, resulting in a far more engaging and intimate portrait.

Technique 3: Capturing Perfect Action Shots (Expanded)
To capture the energy of your pet in motion, combine the right settings with the right setup. Use a fast shutter speed (1/1000s or higher), set your camera to Burst Mode, and use Continuous Autofocus.
For a classic “dog running towards you” shot, have a friend hold your dog about 40 yards away, then call them to run towards you while you fire off bursts of photos.
Technique 4: Using Props and Nature Creatively (Expanded)
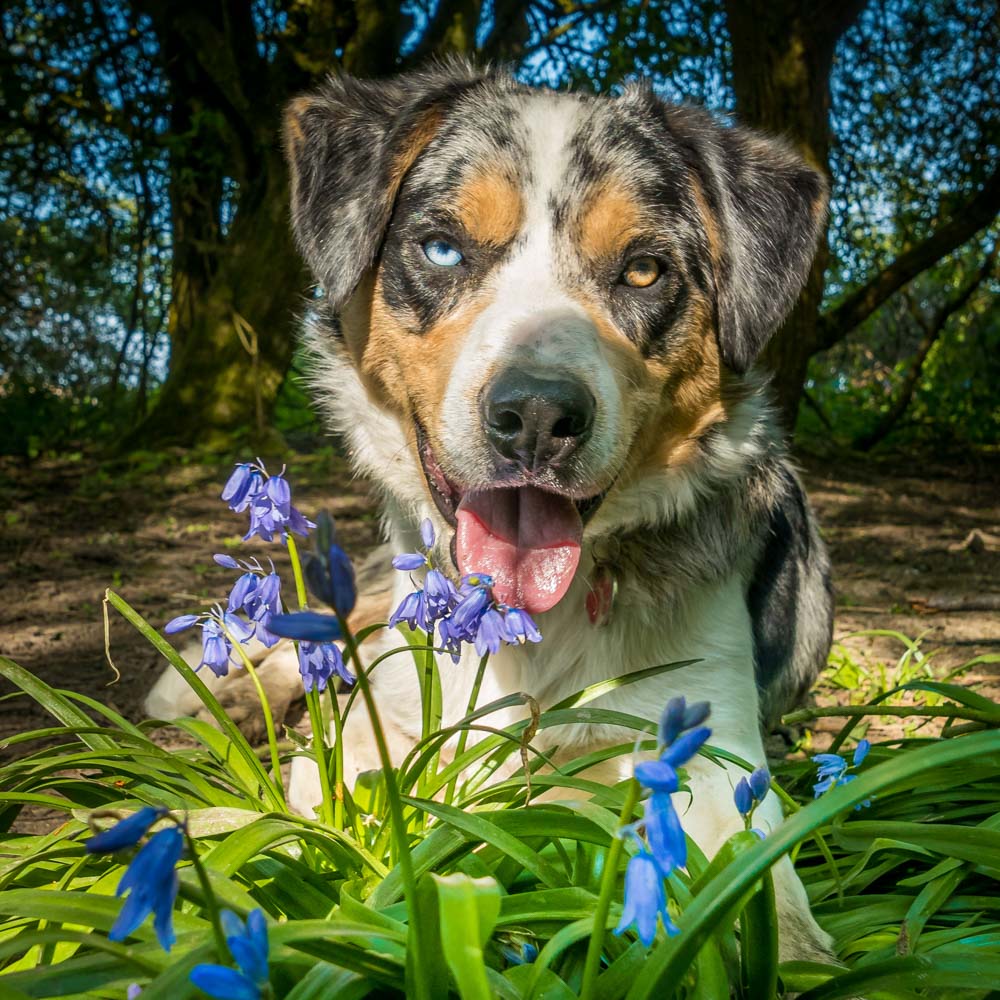
Incorporate elements that add context and beauty to your photos. Use a favorite toy to elicit a happy expression or frame your pet with natural elements like a field of bluebells or autumn leaves.
Don’t be afraid to get creative with tools like a lensball for unique, refractive images.

Technique 5: Creative Shots to Try Next
- Dramatic Silhouettes: Place your pet against a very bright background, like a colorful sunset. Set your camera’s exposure for the bright sky, which will render your pet as a dark, defined shape.
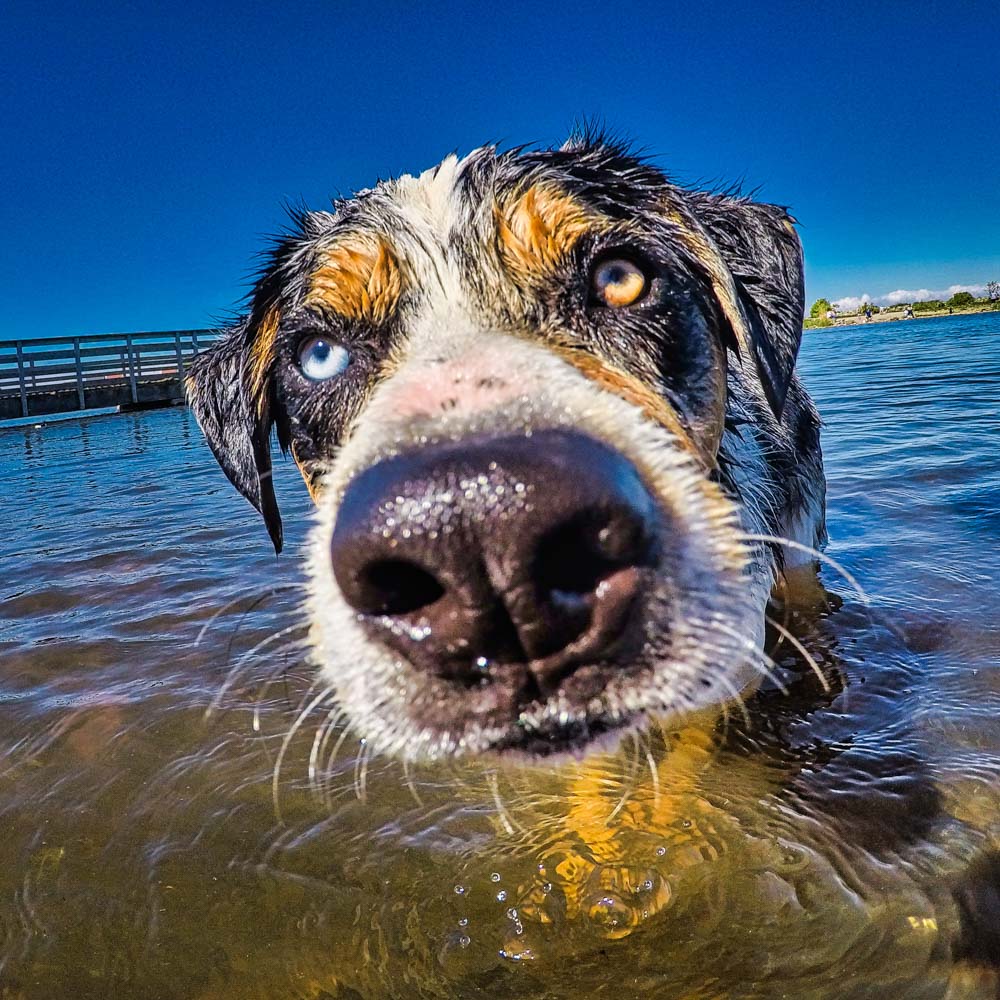
- Focus on the Details: Use your camera’s macro mode or a macro lens to get intimate close-ups of the little things you love—the texture of their nose, their oversized puppy paws, or the unique color of their eyes.
- Timeless Black & White: Converting a photo to black and white can create a timeless, classic feel. It removes the distraction of color and emphasizes texture, shape, and emotion. This technique works especially well in harsh lighting conditions.
Solving Common Problems: A Pet Photography FAQ
Conclusion
Photographing your pet is a wonderful way to celebrate their place in your life. It’s a process that combines technical skill with a deep understanding of the subject you love.
Remember to be patient, make it fun, and focus on capturing the personality that makes your pet so special.
Now pick up your camera, call your furry friend, and start practicing. The beautiful memories you create will be worth it.


Great tips Paul. I use my lens ball on nature pics, but never thought of using with my dog.
Also never thought about the timelapse either for me to play with my dog too.
Thank you.
Ps, I’ve sent you a separate message re: any upcoming weekend photography dates
Great hints and photos explaining all. I have never heard of a lens ball. Most interesting,
Thanks for posting.
Hi Zee, glad you enjoyed